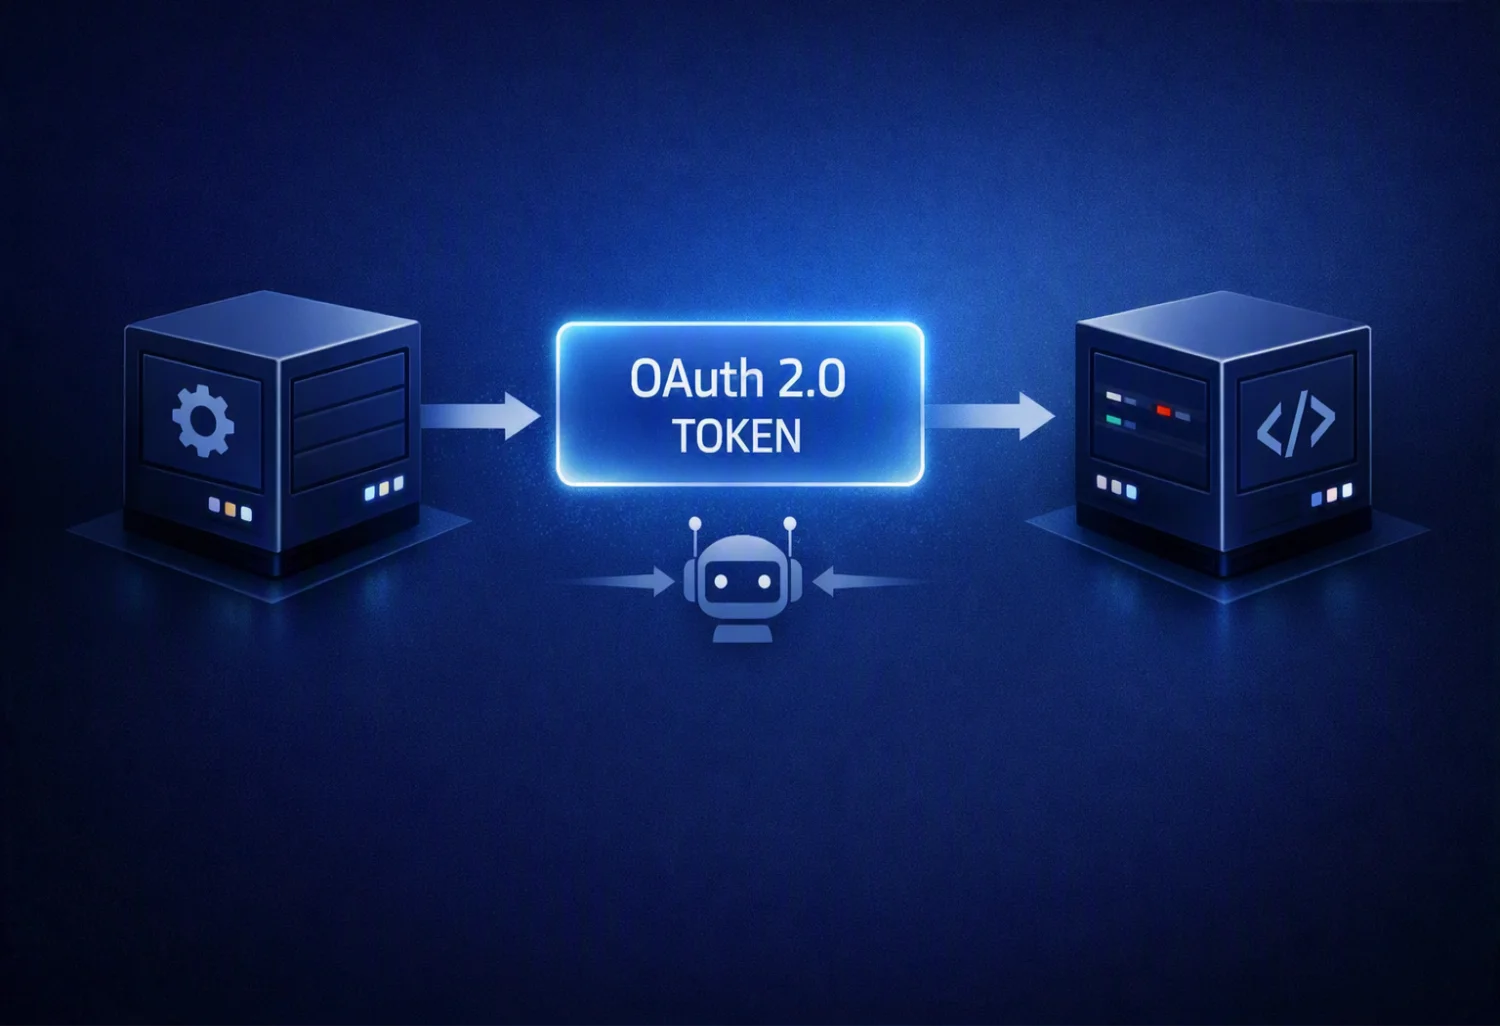
Machine-to-machine authentication
When your services need to talk without a user
You have two backend services. One needs to call the other securely — no browser involved, no user clicking a login button, no redirect flow. Just service A proving its identity to service B and getting access to what it needs.
This is machine-to-machine (M2M) authentication, and it is one of the most common scenarios in modern distributed systems. OAuth 2.0 has a grant type designed exactly for this: the Client Credentials flow.
What makes M2M different
Most OAuth 2.0 flows involve a user: someone clicks a button, authenticates, and grants consent. The resulting token represents that user's identity and permissions.
In M2M scenarios, there is no user. Service A is acting on its own behalf — not on behalf of any person. The token it receives represents the service itself, not a human identity. This means no login screen, no consent dialog, and no redirect. The exchange happens entirely between the service and the authorization server, programmatically and invisibly.
As discussed in the OpenID Connect vs OAuth 2.0 article, this is also a case where you need plain OAuth 2.0 — no OpenID Connect layer required, because there is no user identity to establish.
The flow in plain terms
The Client Credentials flow is the simplest OAuth 2.0 flow. It involves three steps:
- Service A authenticates with the authorization server — using its own client ID and client secret, it requests an access token for a specific scope.
- The authorization server verifies the credentials and issues a token — if the client ID and secret are valid and the requested scope is allowed, a token is returned. No user involved, no consent required.
- Service A calls Service B with the token — the token travels in the
Authorization: Bearerheader, and Service B validates it before processing the request.
💡 Token caching matters
Unlike user tokens, service tokens can and should be cached. Requesting a new token for every API call adds unnecessary latency and load on the authorization server. Cache the token and refresh it only when it is about to expire.
Step 1 — configure the client in IdentitySuite
Before writing any code, register Service A as a client in IdentitySuite with the Client Credentials flow enabled, and define which scopes it is allowed to request. This is done through the admin UI — no code required. You can find the full walkthrough in the IdentitySuite documentation.
Once registered, you will have a client ID and client secret for Service A, and a scope that Service B will use to validate incoming requests.
Step 2 — requesting a token from Service A
Service A needs to obtain a token before calling Service B. The cleanest way to handle this in
.NET is to use a typed HttpClient
with a delegating handler that automatically acquires and caches the token:
// appsettings.json
{
  "AuthorizationServer": {
    "Authority": "https://your-identitysuite-instance.com",
    "ClientId": "service-a-client-id",
    "ClientSecret": "service-a-client-secret",
    "Scope": "service-b-scope"
  }
}
// Program.cs — Service A
var builder = WebApplication.CreateBuilder(args);

builder.Services.AddHttpClient("ServiceB", client =>
{
    client.BaseAddress = new Uri("https://service-b.internal");
});

builder.Services.AddSingleton<TokenService>();
// TokenService.cs — acquires and caches the access token
public class TokenService
{
    private readonly IHttpClientFactory _factory;
    private readonly IConfiguration _config;
    private string? _cachedToken;
    private DateTime _tokenExpiry;

    public TokenService(IHttpClientFactory factory, IConfiguration config)
    {
        _factory = factory;
        _config = config;
    }

    public async Task<string> GetTokenAsync()
    {
        if (_cachedToken is not null && DateTime.UtcNow < _tokenExpiry)
            return _cachedToken;

        var client = _factory.CreateClient();
        var authority = _config["AuthorizationServer:Authority"];

        var response = await client.PostAsync($"{authority}/connect/token",
            new FormUrlEncodedContent(new Dictionary<string, string>
            {
                ["grant_type"]    = "client_credentials",
                ["client_id"]     = _config["AuthorizationServer:ClientId"]!,
                ["client_secret"] = _config["AuthorizationServer:ClientSecret"]!,
                ["scope"]         = _config["AuthorizationServer:Scope"]!
            }));

        response.EnsureSuccessStatusCode();

        var json = await response.Content.ReadFromJsonAsync<JsonElement>();
        _cachedToken = json.GetProperty("access_token").GetString()!;
        var expiresIn = json.GetProperty("expires_in").GetInt32();
        _tokenExpiry = DateTime.UtcNow.AddSeconds(expiresIn - 30); // 30s buffer

        return _cachedToken;
    }
}
Step 3 — calling Service B with the token
Once the token is available, attaching it to the outgoing request is straightforward:
public class ServiceBClient
{
    private readonly IHttpClientFactory _factory;
    private readonly TokenService _tokenService;

    public ServiceBClient(IHttpClientFactory factory, TokenService tokenService)
    {
        _factory = factory;
        _tokenService = tokenService;
    }

    public async Task<string> GetDataAsync()
    {
        var token = await _tokenService.GetTokenAsync();
        var client = _factory.CreateClient("ServiceB");

        client.DefaultRequestHeaders.Authorization =
            new AuthenticationHeaderValue("Bearer", token);

        return await client.GetStringAsync("/api/data");
    }
}
Step 4 — validating the token in Service B
Service B validates the incoming token using OpenIddict introspection, exactly as described in the
protecting a .NET Web API article.
The only difference is that the claims available in HttpContext.User will reflect
the service identity rather than a user identity — there is no name or
email, but there is a sub claim
identifying the client, and the scopes granted to it.
// Program.cs — Service B
builder.Services.AddOpenIddict()
    .AddValidation(options =>
    {
        options.SetIssuer(builder.Configuration["AuthorizationServer:Authority"]!);
        options.AddAudiences(builder.Configuration["AuthorizationServer:ClientId"]!);

        options.UseIntrospection()
               .SetClientId(builder.Configuration["AuthorizationServer:ClientId"]!)
               .SetClientSecret(builder.Configuration["AuthorizationServer:ClientSecret"]!);

        options.UseSystemNetHttp();
        options.UseAspNetCore();
    });

builder.Services.AddAuthentication(OpenIddictValidationAspNetCoreDefaults.AuthenticationScheme);
builder.Services.AddAuthorization();

app.UseAuthentication();
app.UseAuthorization();

app.MapGet("/api/data", () => Results.Ok("protected data"))
   .RequireAuthorization();
When M2M authentication is the right choice
The Client Credentials flow is the right tool whenever there is no human in the loop:
- Microservices — service-to-service calls in a distributed architecture where each service needs to prove its identity to the others.
- Background jobs and scheduled tasks — a worker process that calls an API periodically, without any user context.
- Data pipelines and integrations — a system that ingests or exports data from an API on a fixed schedule.
- Internal tooling — admin scripts or automation that need authenticated access to internal APIs.
If a user is involved at any point in the flow — even indirectly — the Authorization Code flow with PKCE is more appropriate. The Client Credentials flow is specifically for service identities, not user identities.
The authorization server side — IdentitySuite
The code above assumes a running authorization server that supports the Client Credentials flow. IdentitySuite supports it out of the box — client registration, scope management, and token issuance are all handled through the admin UI, with no additional configuration required on the server side. The Client Credentials flow is enabled per client, so you have full control over which services are allowed to authenticate this way.

About IdentitySuite
IdentitySuite simplifies enterprise authentication for .NET developers. Built on proven technologies like ASP.NET Core Identity and Openiddict, we eliminate the complexity of OAuth 2.0 and OpenID Connect implementation while maintaining enterprise-grade security standards.